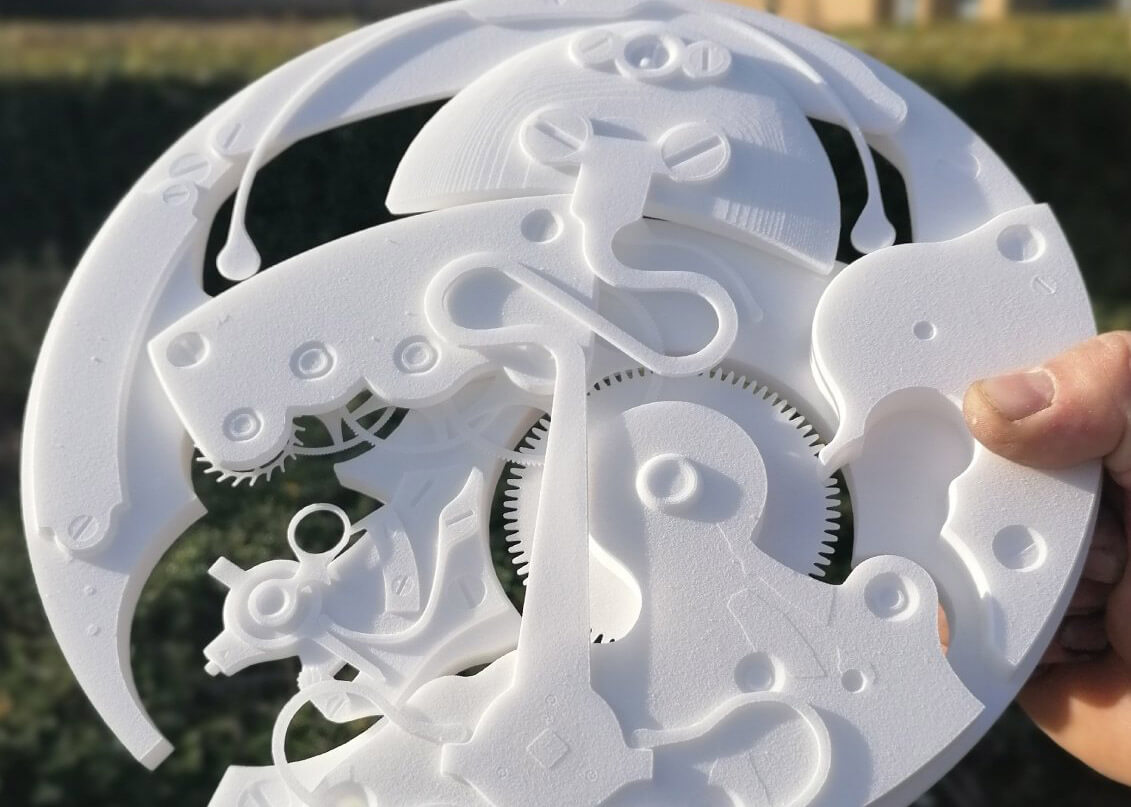
All 3D printers are part of the additive printing process family.
They work by slicing a 3D design into very thin horizontal cross sections and laying material down one layer on top of each other.
There are lots of different types of 3D printers which have benefits and drawbacks, so selecting the type of 3D printing is crucial to your needs.
We house many different 3D printers in our factory, but we specialise in Selective Laser Sintering (SLS).
The machines involved in the SLS process are very high end and require a detailed knowledge of 3D printing to use.
There are home built 3D printers, novice 3D printers, Professional 3D printers, Resin SLA 3D printers, then, there’s SLS 3D printers.
Please visit our SLS page for more information and specifications.

WHAT IS SLS PRINTING?
THE BASIC 3D PRINTING PROCESS
Most 3D printers follow a similar process for printing products.
You can break these into 6 main stages: Design, File Fixing, Slicing, Printing, Post Process and Finishing.
The Process
1.
DESIGN
(CAD)
To begin with, you need a file which usually comes from one of 2 sources. Either created from scratch using a Computer Aided Design package or 3D scanning of an existing object/person/plant etc.
The files need to be in a 3D format as additive printers can not read 2D graphics or photographical material. Once the design is ready its usually converted to STL format ready to print from.
2.
FILE
fixing
The STL now needs to be checked for errors and it is amazing how many there are, even from extremely experienced designers.
The file needs to be read through a certain set of procedures to work and it's not as simple as sending lots of layers to the printer. The machines need to know how these layers interconnect and how they should behave with each other so it knows exactly what to do next.
3.
SLICING
the item
Now we have our print ready STL file, we have to hack it to pieces. All that work just to split it into a load of layers. We do this for you and believe us, we take no pleasure in cutting up all your hard work- Trust us though it's going to come together in the end.
We determine the layer size, which in turn effects not only the coarseness of the finished print, but of course the time it takes to print (worth noting if faster time outweighs the need for a tighter finish).
4.
PRINTING
the item
Hooray!!!! Now it's actually time to use that massive box of a printer over there. The printer now simply does it's thing and we keep one eye very closely on it. We make sure it stays on the straight and narrow, doesn't run out of material, and ensure that no-one unplugs a power cord or suchlike. We won't bore you with the tech at this point (that's on us), but rest assured, our machines are like family, we laugh, cry and kick each other all day long.
5.
POST
process
Due to a little thing called architecture, there is usually some form of cleaning up to do. Be it, removal of a base in most 3D printers, or taking an incredibly heavy box of powder out of our SLS and literally finding the pieces in the powder. There is always something to do & also, remember there is heat involved, so before we even get to sticking our hands in there, the machines have to cool down & the products need to get to room temperature. This can take as long as the print process itself.
6.
FINISHING
the item
So, we have our pieces. Next thing to do is to finish the surfaces depending on the purpose. Remember that 3D printing is done in layers, so the surface has to be checked or finished to be fit for purpose.
After this, of course, chroming, painting, polishing all takes place, then, at last, through a gentle sigh, your product is ready for the world to see and we've accomplished another day at the office.
